How to Complete a Water Damage Drying Log: What to Record on Every Visit
Brighthammer TeamWater Mitigation
Key Takeaways
- Set up a baseline on the first visit with labeled material points, meter settings, and equipment locations before daily monitoring starts.
- Run the same seven checks on every visit so each entry shows what changed, what was decided, and what the next technician should confirm.
- Record missed visits, meter changes, and equipment moves as they happen. Never backfill readings or leave unexplained blanks.
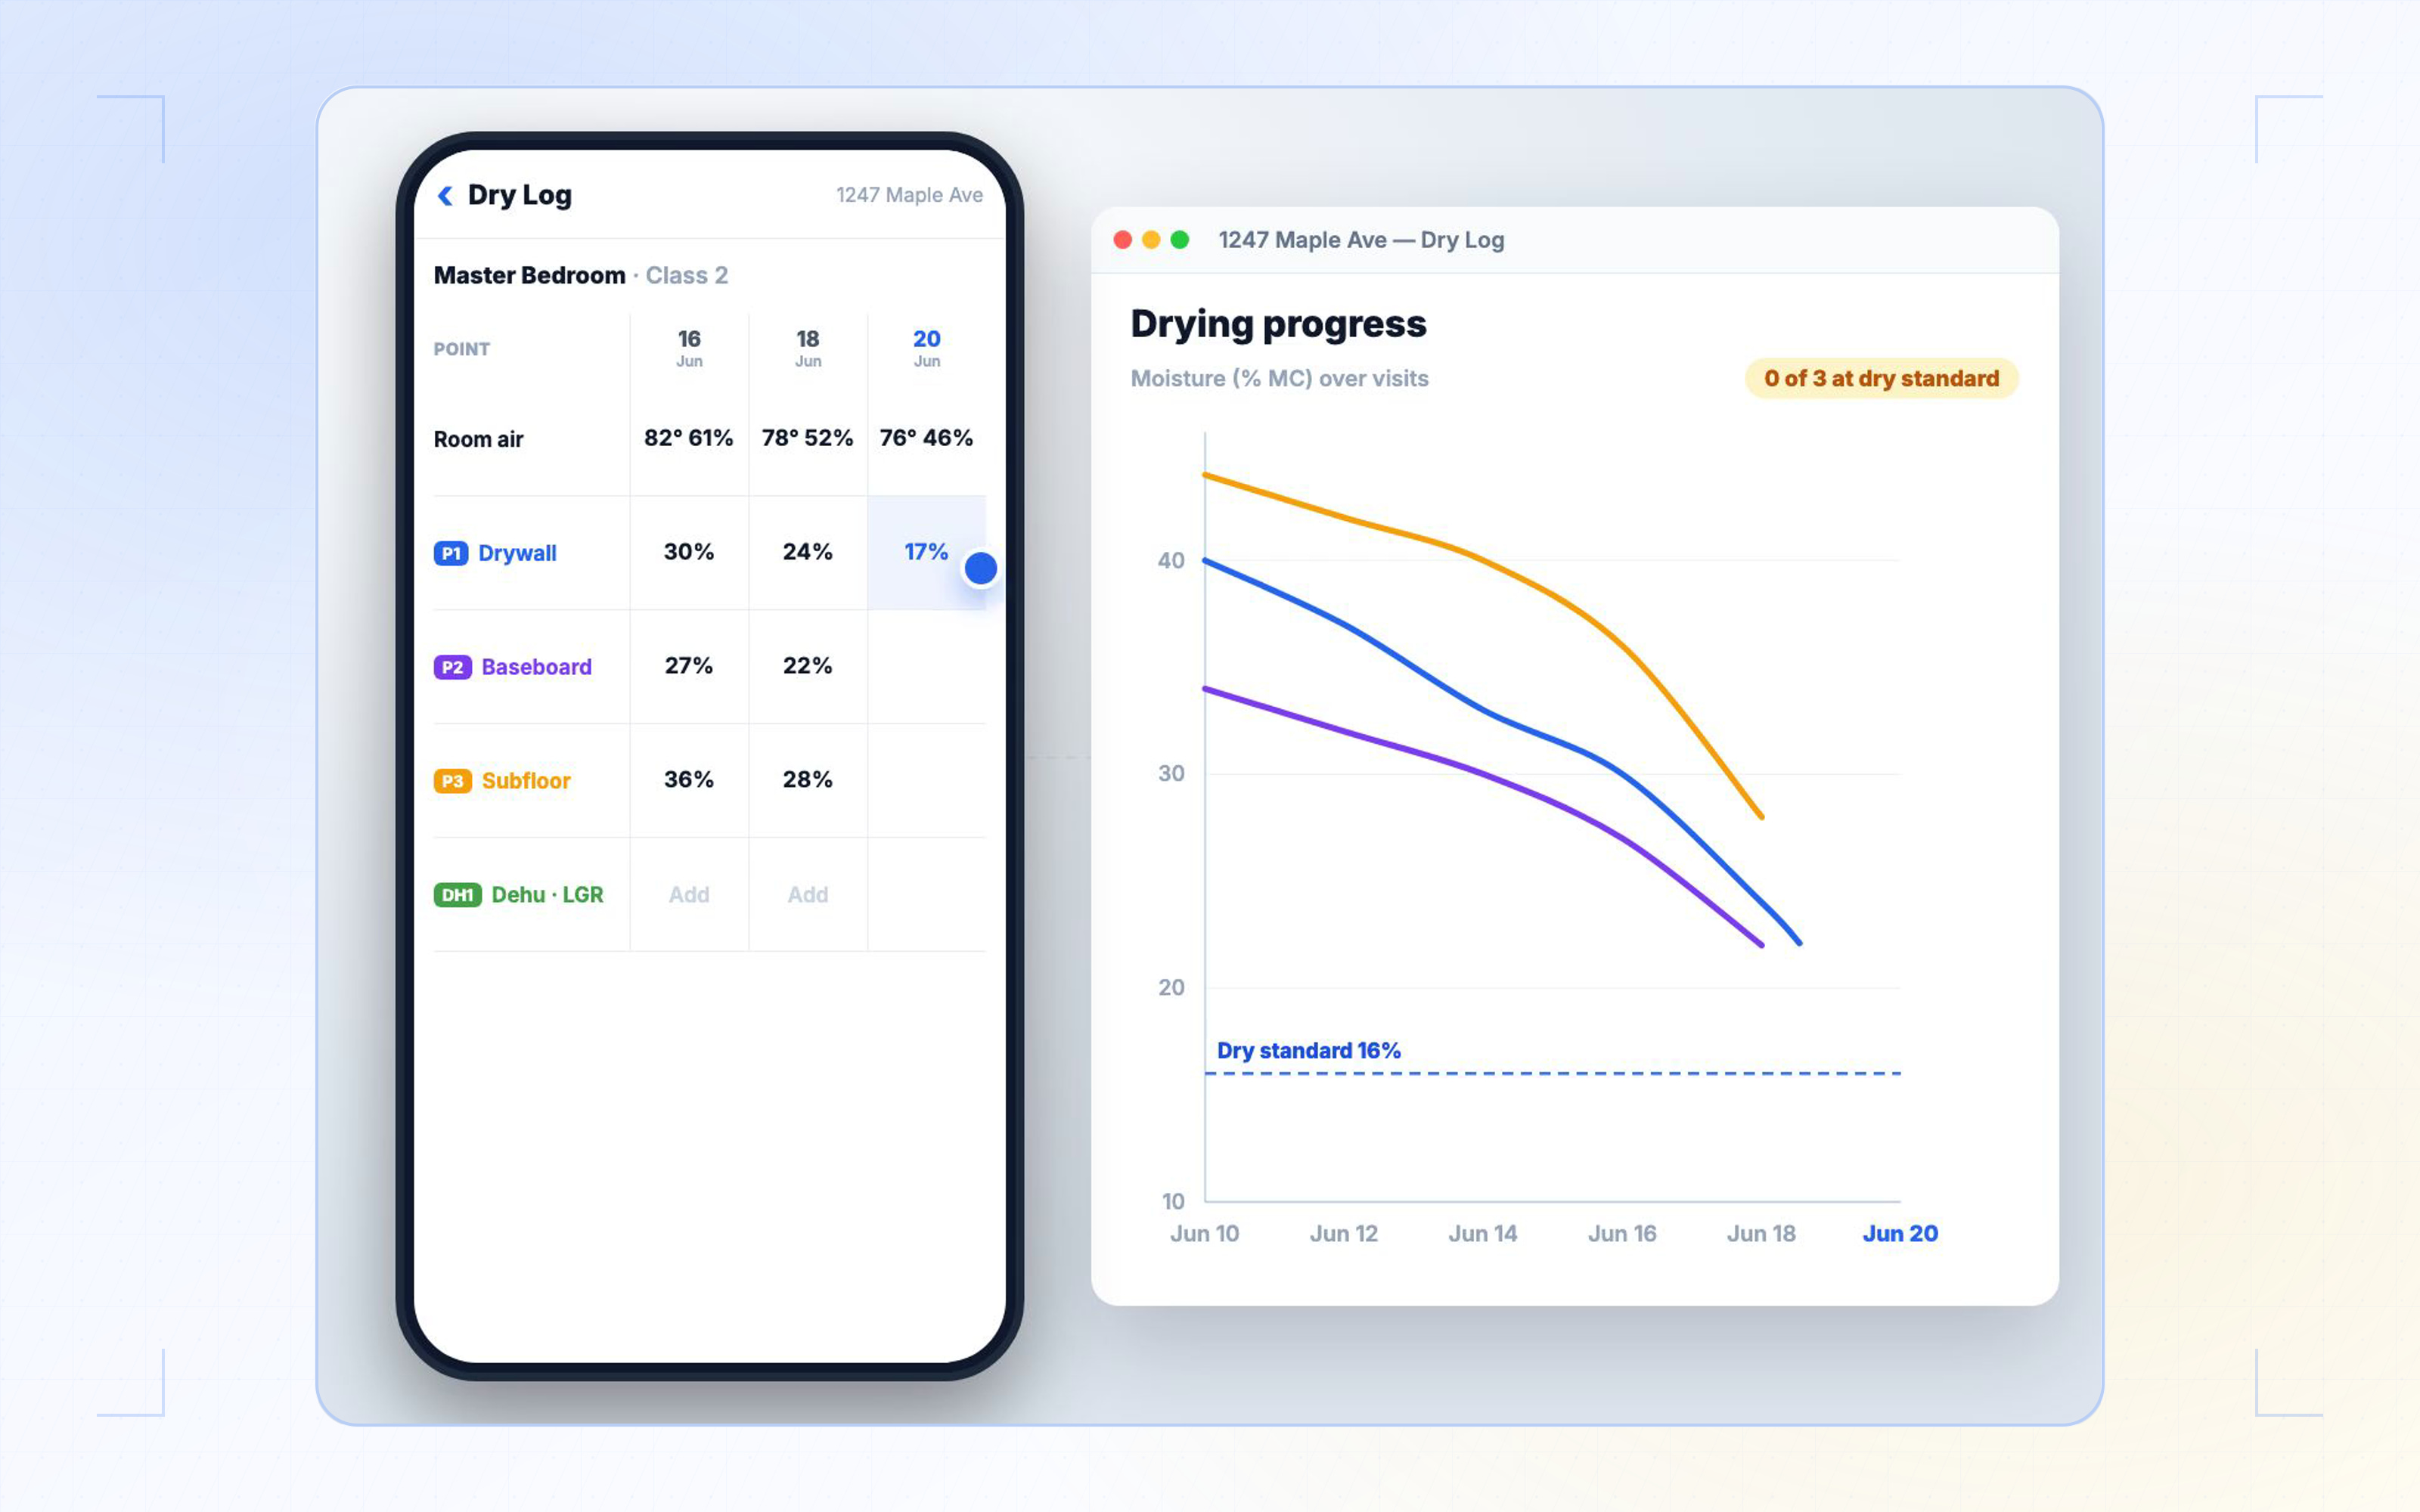
A useful drying log should show what happened on every monitoring visit. Record what the technician found, the readings they took, any change made to the drying setup, and what needs to be checked next.
That gives the next technician a clear starting point. It also lets the office follow the drying progress and understand why equipment was left, moved, added, or removed without chasing the field crew for context.
Follow the current ANSI/IICRC S500 standard, your meter and equipment instructions, and the procedure that controls the job. This guide focuses on keeping the daily record clear and consistent.
Set up the log before daily monitoring starts
Use the first visit to create a baseline the crew can return to. Later readings only help when the team knows exactly what was measured, where it was measured, and how it was measured.
Make each location easy for another technician to find. “Laundry drywall L-1, six inches above the base” is useful. “Wet wall” is not.
Set the drying goal for the material and method used on that job. Do not copy a target from another material or an old file.
- Give each room or drying zone one consistent name.
- Assign a short ID to every material point you plan to recheck.
- Record the material and the exact location of each point.
- Mark the points on a moisture map, floor plan, sketch, or labeled photo.
- Record the meter, setting or scale, dry standard, and drying goal used for the job.
- Give each piece of equipment an ID and show where it was placed.
- Record the starting atmospheric conditions required by your procedure.
Use the same seven checks on every visit
Run each monitoring visit in the same order. A repeatable check makes the log faster to complete and easier for the next technician or the office to review.
1. Record who was there, when, and where
Enter the actual date and arrival time, the technician’s name, and the rooms or drying zones checked. If the visit happened later than planned, record when it actually happened and explain the delay when the reason is known.
2. Write down what changed before taking readings
Note any new water, standing water, open windows, loss of power, moved equipment, changed containment, restricted access, or work by another trade.
These details show whether the new readings were taken under the same conditions as the previous visit. Record the change before trying to explain the trend.
3. Record air conditions in the same areas
Capture the atmospheric readings required by your procedure in the same areas on each visit. These may include outside and affected-area temperature, relative humidity, and grains per pound (GPP).
Keep the locations consistent. If a value is calculated, retain the measurements used to calculate it.
4. Recheck every mapped material point
Return to the same labeled points and use the same meter and setting when that method is still appropriate. Enter the displayed value for every point, including one that did not improve.
Do not leave an unexplained blank. Write “inaccessible,” “not checked,” or the correct status so the next person knows what happened.
5. Confirm the equipment is present and operating
Check each air mover, dehumidifier, and other unit against the equipment record. Confirm where it is, whether it is running, and whether the setup has changed.
If a unit was moved, added, removed, turned off, or found disconnected, record what the technician found and what happened next.
6. State the decision and the reason
Write down what the technician decided to do and why. The decision may be to leave the setup unchanged, reposition an air mover, investigate a slow point, change the drying area, or flag the condition for review.
Tie the decision to what was found on that visit. If the reason for a change is unknown, say that and assign a follow-up instead of filling the gap from memory.
7. Tell the next technician what to check
End the entry with a short, specific next action. For example: “Recheck L-2 behind the toe-kick after the airflow adjustment” or “Confirm power remains available to D-1.”
The next technician should open the log and know where to start.
Follow one slow point across five visits
The example below shows why a drying log needs more than a row of readings. Three mapped points improve at different rates. When one point slows down, the log shows what the technician checked, what changed, and what the next visit needs to confirm.
This is a hypothetical example. The meter values are invented relative readings used only to demonstrate the record. They are not recommended thresholds for a real material or job.
A laundry supply-line release affected two lower-wall points in the laundry and one point in the adjacent hall. The technician labeled them L-1, L-2, and H-1 and used the same meter and material setting throughout. An unaffected comparison area on the same material displayed 12 relative units. The example drying goal was set at 14 or lower.
Visit 3 is the useful row. “L-2: 31” does not explain the job on its own. The rest of the entry shows where the slow point was, what the technician checked, what was adjusted, and what the next visit should confirm.
Use this seven-part entry as a field check
The progress table makes the trend easy to compare, but it is not the whole daily record. Use the seven fields below as a completeness check and adapt them to the form and procedure used on the job.
- Visit details: Visit 3, 9:10 a.m.; Technician AB; laundry and adjacent hall.
- Conditions before measurement: No new water found; containment unchanged; access available; equipment found operating.
- Atmospheric record: Outside 78°F and 60% RH; affected area 76°F and 42% RH; any other required fields recorded.
- Material readings: Meter M-07 on the documented relative setting; L-1: 21, L-2: 31, H-1: 18.
- Equipment check: D-1 and AM-1 remained in their mapped locations and were operating. AM-2 was operating in its previous laundry location before adjustment.
- Decision: Check the air path behind the L-2 toe-kick and reposition AM-2. Photograph or map the new placement.
- Next check: Measure L-2 again at the same mapped point with the same meter and setting. Confirm whether the reading continues downward after the airflow adjustment.
| Visit | Material readings | What the technician found | Decision and next check |
|---|---|---|---|
| 1 | L-1: 38; L-2: 44; H-1: 35 | Points and equipment locations mapped. Starting conditions recorded. | Start the drying setup. Recheck all three points and confirm equipment operation. |
| 2 | L-1: 29; L-2: 36; H-1: 25 | No new water found. Equipment was operating in the recorded locations. | Leave the setup unchanged. Watch L-2, the highest remaining point. |
| 3 | L-1: 21; L-2: 31; H-1: 18 | L-2 changed less than the other points. The technician checked the air path behind the toe-kick. | Reposition the nearby air mover and record its new location. Recheck L-2 on the next visit. |
| 4 | L-1: 15; L-2: 20; H-1: 14 | H-1 reached the example goal. Both laundry points remained above it. | Record the hall point’s status and keep the laundry setup operating. Recheck L-1 and L-2. |
| 5 | L-1: 14; L-2: 14; H-1: 13 | Final site, air, material, and equipment checks recorded. | Compare the record with the job’s drying goals and complete the required closeout documentation or escalation. |
Record gaps and changes as they happen
If a visit, meter, location, access condition, or equipment setup changes, put it in the log that day. Do not backfill a smooth-looking timeline later.
- Missed or delayed visit: Enter the actual date and time. Add the reason when it is known. Do not invent a reading for the missing interval.
- Inaccessible point: Mark the point inaccessible and explain why. Give any substitute location a new ID.
- Changed meter or setting: Record the new meter or setting and why it changed. Make the change clear so later readings are not mistaken for one continuous comparison.
- New wet point: Add it to the map with its own ID, material, location, and starting reading.
- Moved or disconnected equipment: Record what the technician found, when they found it, and what they did next. If the reason is unknown, say so.
- Stalled or rising reading: Recheck the point, method, site conditions, and equipment before assigning a cause. Record what was checked and the next action.
Do a one-minute check before leaving
Review the log while the technician is still on-site. Start with the slowest point and read its entries from top to bottom.
Then scan the latest visit across every mapped point. Each one should show where it stands: at the job’s goal, still above it, inaccessible, measured with a changed method, or unresolved.
Fix missing labels and explanations before leaving. Flag any technical issue that cannot be resolved from the record for review.
- Can another technician find the exact point?
- Does every visit show a reading or a clear status?
- Are changes to the meter, conditions, access, or equipment explained?
- Does the latest entry show what the technician decided and why?
- Is there a specific check for the next visit?
See Every Visit and Reading in One Timeline
Brighthammer’s Water Mitigation workflow lets crews record daily moisture readings and equipment on-site, then follow the job in a timeline. Compare that approach with the way your team currently documents each return visit.
FAQs
A water damage drying log should identify each visit and record the material readings, atmospheric conditions, equipment status, field decisions, and next check for the loss. It should also identify where and how each reading was taken so another technician can return to the same point using the same method. The exact fields still need to follow the standard, job requirements, and company procedure that control the work.
Record relevant moisture readings daily and, when practical, at about the same time until the job’s drying goals have been achieved and documented. If a visit is delayed or missed, enter the actual timing and the known reason instead of backfilling the log.
A dry standard is the meter value recorded for the reference material sample, while a drying goal is the target for affected material based on that value and other job-specific information. Record the material, sample location, nearby air conditions, meter, and setting used so the target has clear context.
Use the same moisture meter and setting at the same mapped points when that method remains appropriate. If the meter or setting changes, record what changed and why, then make it clear that readings taken with different methods may not be directly comparable.
Record the gap exactly as it happened. Enter the actual visit date and time, mark an inaccessible point as inaccessible, explain the reason when known, and give any substitute monitoring location a new ID. Never invent a reading or silently move the original point.
A water damage drying log is complete when the job’s drying goals have been achieved and documented and the final entry records the closeout decision required by the controlling procedure. Any unresolved point, changed method, or remaining issue should be identified instead of disappearing from the last entry.